Setting up IntelliJ IDEA
Android Studio is a version of JetBrain’s IntelliJ Community Edition specifically tailored for Android development. Installation instructions for Android Studio can be found here.
IntelliJ IDEA contains all the features found in Android Studio. Setup for Android development is, however, a bit more involved since it does not include the Android SDK by default.
Prerequisites
- Install Java 17 JDK or later
- Install IntelliJ IDEA
- Install Android SDK Tools
Configure IntelliJ IDEA
- Open IntelliJ IDEA
- Close all open project windows
- The IntelliJ Welcome screen will be displayed
- Add required SDKs
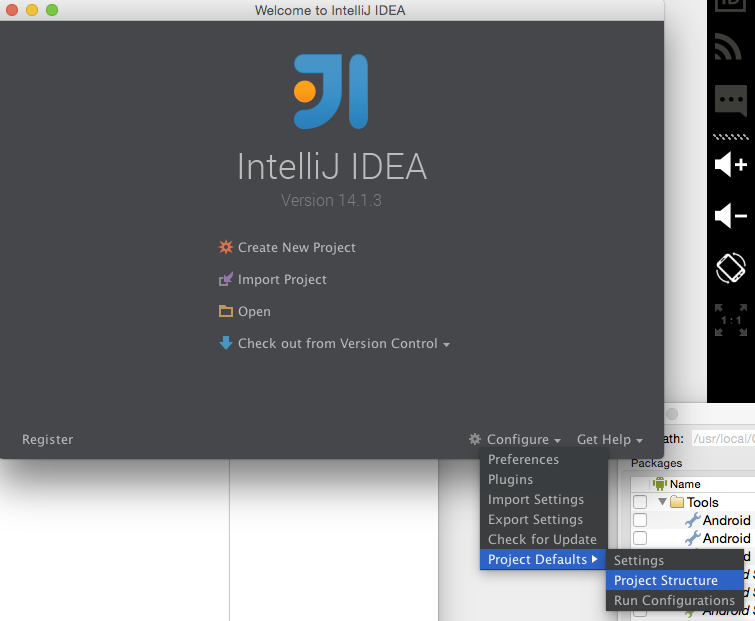
- Click on
Configure > Project Defaults > Project Structure - Select
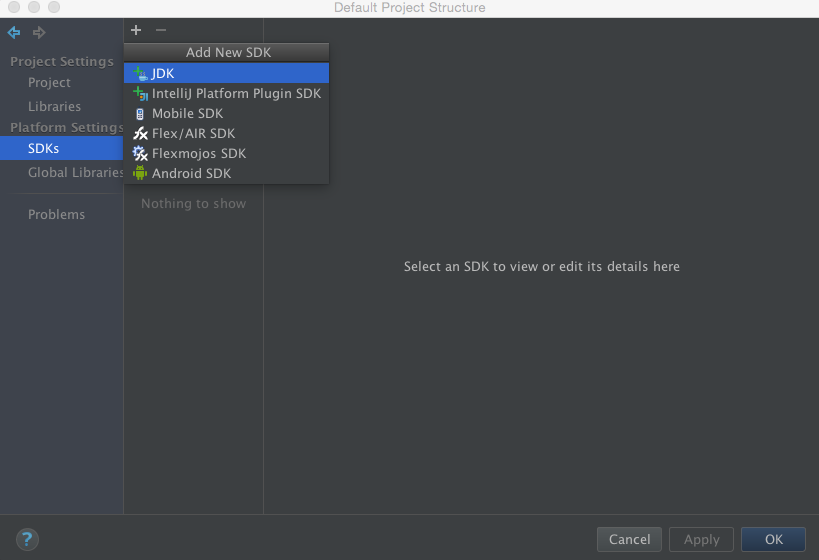
SDKs - Add Java Development Kit
- Click
+ > JDK - Note: Press
Cmd+Shift+.to show hidden files in the file chooser dialog. - Navigate to the JDK location. E.g.,
/Library/Java/JavaVirtualMachines/jdk-17.jdkon macOS. - Select the JDK folder
- Click
- Add Android SDK
- Click
+ > Android SDK - Note: Press
Cmd+Shift+.to show hidden files in the file chooser dialog. - Navigate to the Android SDK location. E.g., for Homebrew installations, use
/usr/local/Cellar/android-sdk/<sdk-tools-version> - Select the Android SDK version folder and accept the defaults presented
- Click
- Click OK
Create an Android Project
- On the welcome screen, click Create new project or select
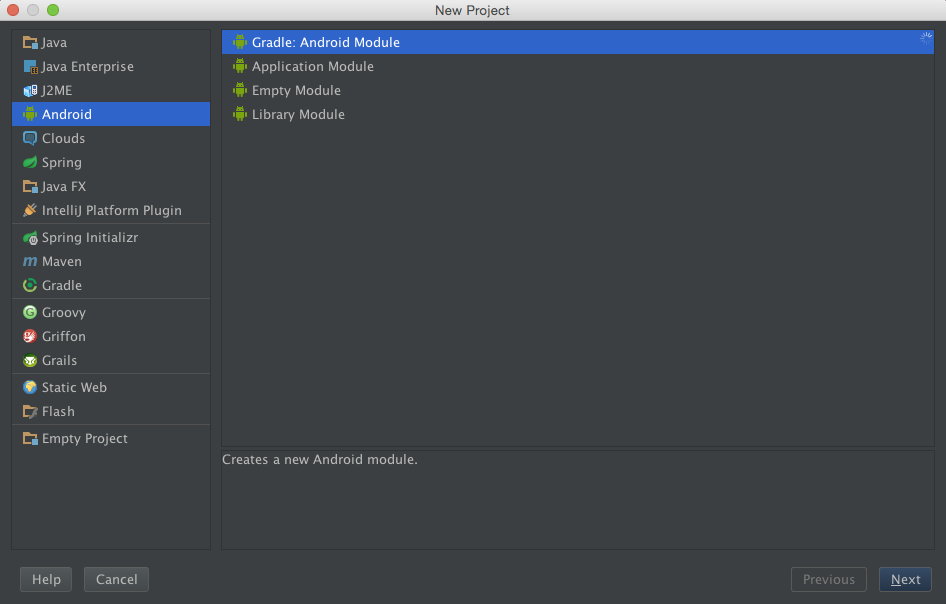
File > New Projectfrom the menu bar. - Select Android from the Project Type List on the left
- Select Gradle:Android Module from the options on the right
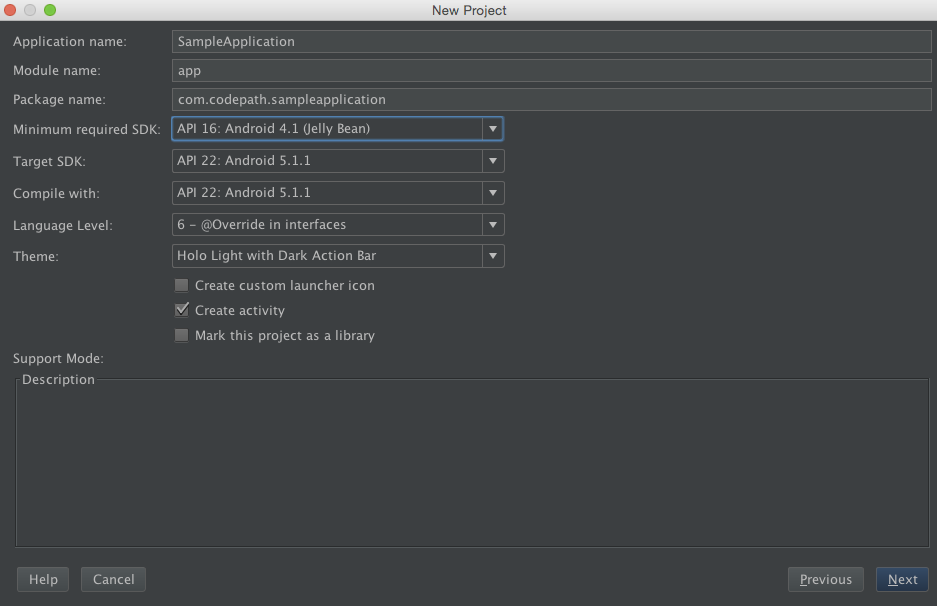
- On the project details screen, specify:
- Application name
- Package name
- Minimum, Target, Compile SDKs
- Select Blank Activity from the template screen.
- Accept or modify the subsequent defaults as necessary.
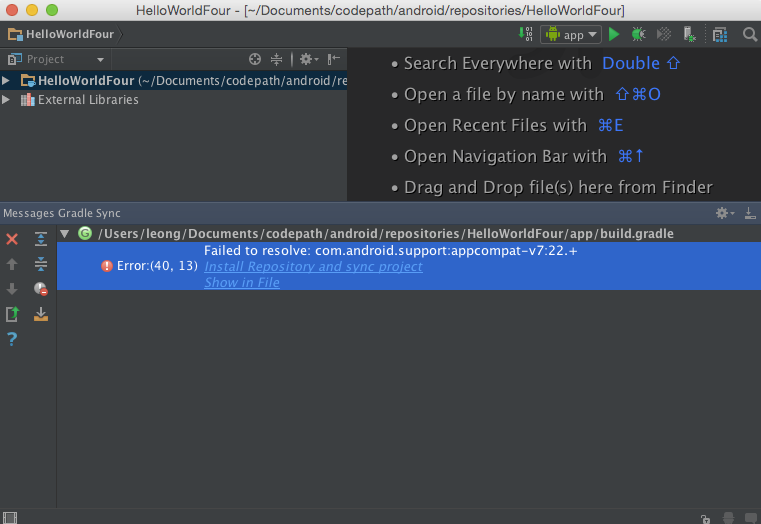
- When the project is opened, Gradle attempts to pull in any dependencies. If there are errors:
- In the error log, click on the recommended resolution.